Carbon Steel Strike Anchors are a cornerstone of secure fastening in concrete and masonry applications, prized for their robust shear strength and reliable holding power. Used extensively in structural connections, machinery bases, and safety-critical installations, their effectiveness hinges entirely on correct installation. Improper placement can significantly reduce load capacity and compromise safety. Here’s a professional guide to ensure you install your Carbon Steel Strike Anchor correctly every time.
Why Precision Matters with Carbon Steel Strike Anchors
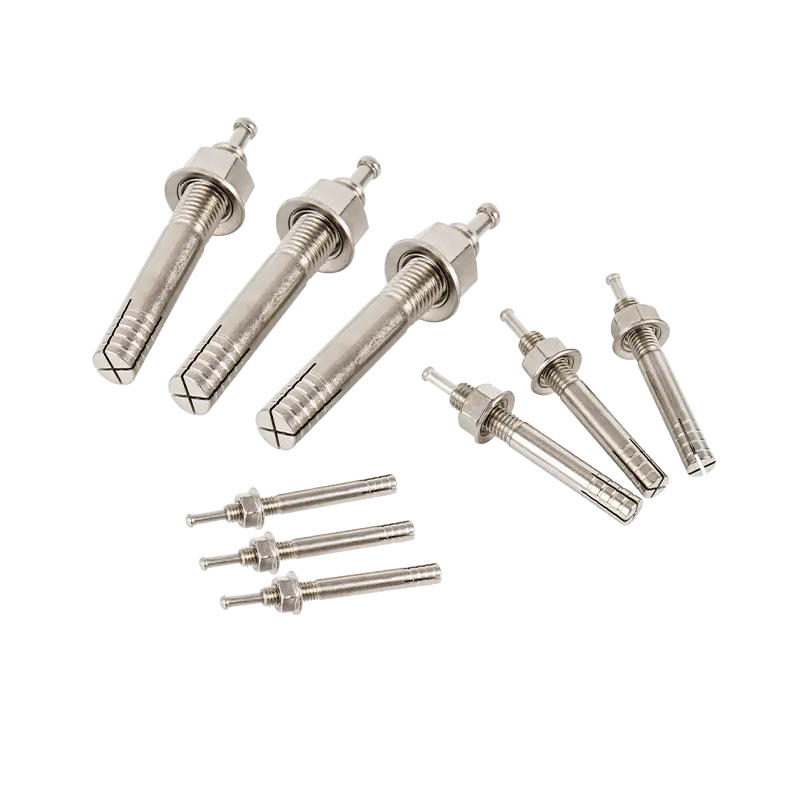
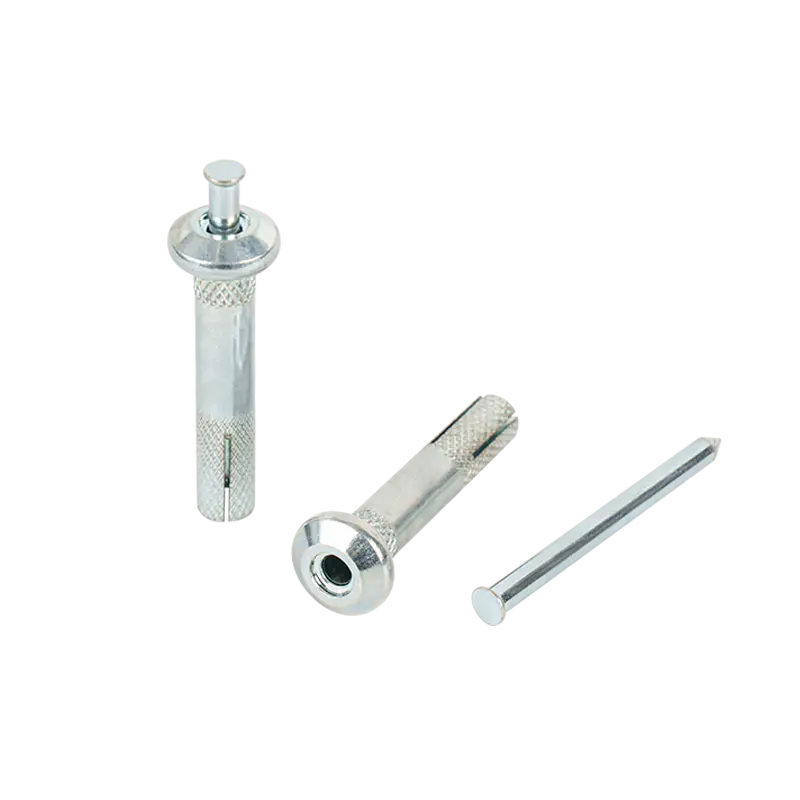
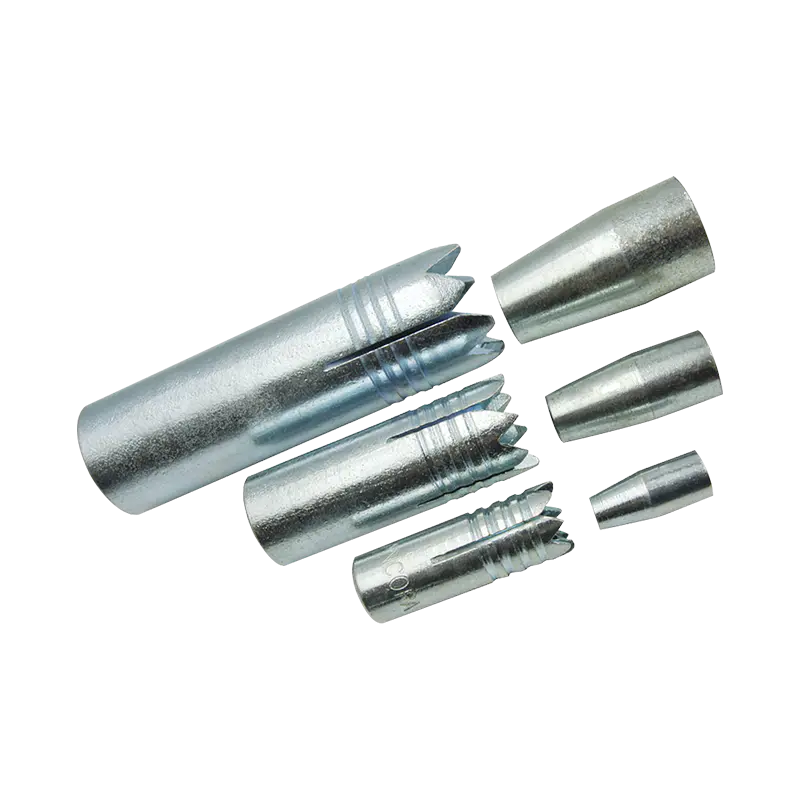
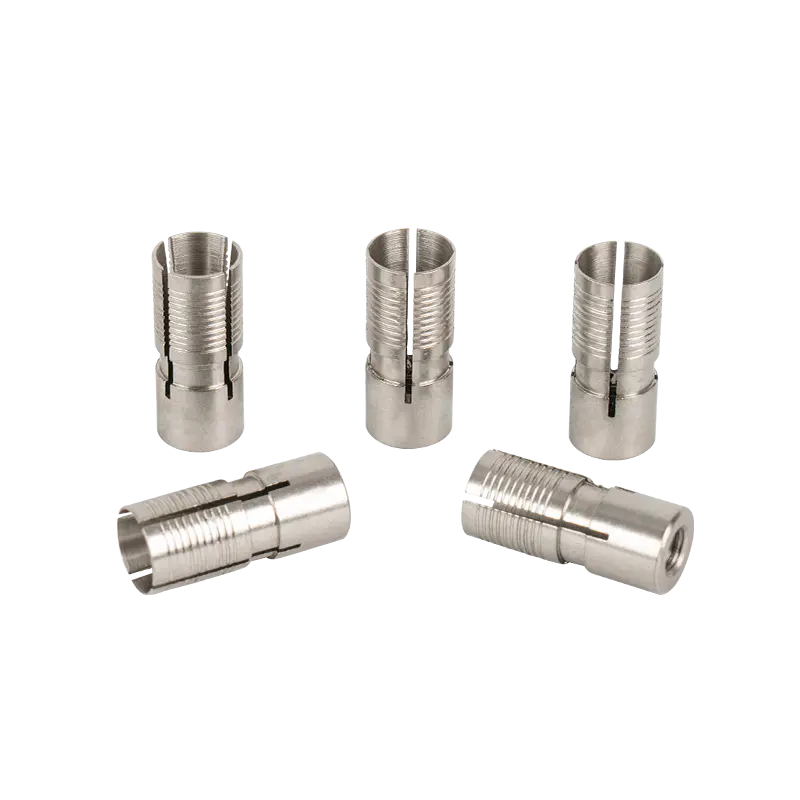
Unlike simple expansion bolts, Carbon Steel Strike Anchors utilize a unique mechanism. A special setting tool (strike tool) is inserted into the anchor body and driven down with a hammer. This action expands the anchor sleeve outward against the walls of the pre-drilled hole, creating a powerful mechanical lock. Any deviation in hole size, depth, or cleanliness directly impacts this expansion process, leading to potential pull-out or reduced load-bearing capacity. Proper installation maximizes the anchor's inherent strength derived from its durable carbon steel construction.
Step-by-Step: Installing Your Carbon Steel Strike Anchor
Preparation is Paramount:
Review Specifications: Consult the manufacturer's technical data sheet (TDS) for the specific Carbon Steel Strike Anchor you are using. This is non-negotiable. It provides critical information: required hole diameter, minimum embedment depth, minimum base material thickness, and expected torque/tension values.
Substrate Check: Ensure the concrete or masonry is sound, uncracked, and meets the minimum compressive strength requirements specified by the anchor manufacturer and relevant building codes (e.g., ACI 318, ICC-ES reports).
Locate & Mark: Precisely mark the hole locations according to your project plans.
Drilling the Critical Hole:
Use the Correct Bit: Employ a carbide-tipped masonry drill bit specified in the TDS. The bit diameter must match the anchor's required hole size exactly – typically the same as the anchor sleeve diameter. Using a larger bit is a critical error.
Depth Control: Drill the hole to the minimum embedment depth specified in the TDS, plus the thickness of any material being fastened (washer, base plate). Use a depth stop collar on the drill bit or carefully measure the hole depth. Important: The hole depth must allow the anchor body to sit flush or slightly below the surface of the base material before setting. Drilling deeper than required is acceptable and often recommended for debris clearance; drilling shallower is not.
Perpendicularity: Drill the hole straight and perpendicular to the surface. Angled holes reduce holding power.
Hole Cleaning: Essential Step:
Remove All Debris: This is crucial and often overlooked. Use compressed air (wear eye protection!), a wire brush, or a vacuum specifically designed for concrete dust to meticulously remove all dust and chips from the hole. Repeat until the hole is completely clean. Residual debris prevents the anchor sleeve from expanding fully against the concrete, drastically reducing holding capacity.
Anchor Insertion:
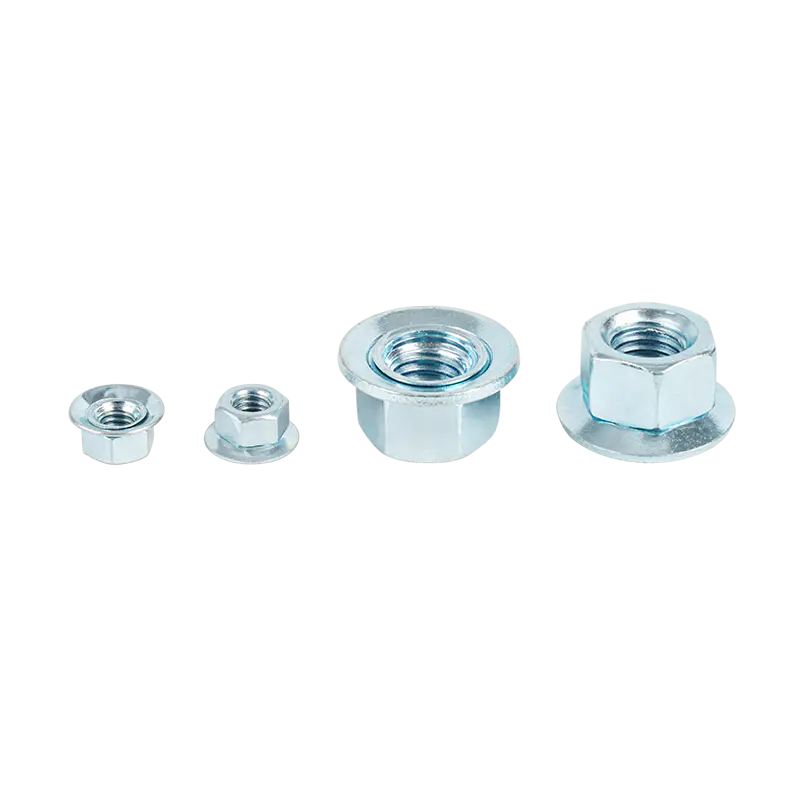
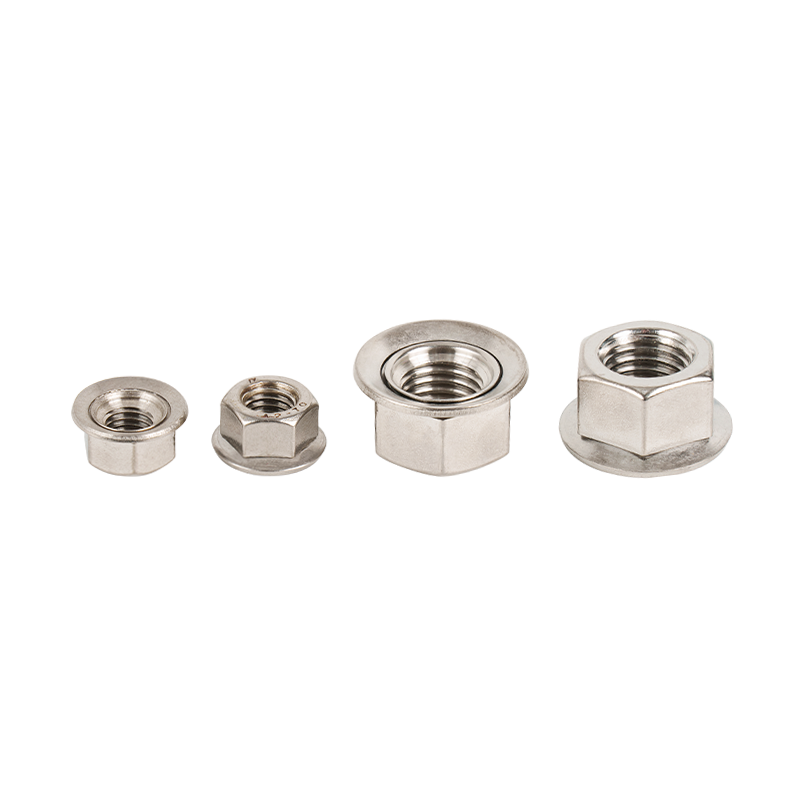
Gently insert the Carbon Steel Strike Anchor into the clean hole. The anchor body should slide in easily by hand. Do not hammer it in. Ensure the washer and nut are in place on the threaded stud before insertion if required by the design.
Setting the Anchor: The Core Action:
Insert the Strike Tool: Place the manufacturer-supplied steel setting tool (strike tool) fully into the anchor body until it seats firmly against the internal plug.
Drive the Tool: Using a hand hammer (typically 3-4 lb), deliver sharp, direct blows to the top of the strike tool. Continue striking until the tool movement stops (it "bottoms out") and the top of the strike tool is flush with the top of the anchor body. This action expands the sleeve and locks the anchor securely in place.
Remove the Tool: Carefully extract the strike tool.
Final Torque (If Applicable):
While the primary holding power comes from the mechanical expansion, the nut may require final tightening per the manufacturer's TDS to achieve proper clamp load on the fixture. Use a torque wrench set to the specified value. Do not over-torque, as this can damage the anchor or the concrete.
Key Considerations for Carbon Steel Strike Anchors
Corrosion: While durable, carbon steel is susceptible to corrosion in harsh environments. Ensure the anchor's finish (e.g., plain, galvanized) is appropriate for the installation environment. For severe conditions, stainless steel might be required.
Edge and Spacing: Maintain minimum edge distances and anchor-to-anchor spacing as dictated by the TDS and building codes. Installing too close to an edge risks concrete breakout failure.
Fixture Fit: Ensure the fixture hole size allows the anchor body to sit flush against the concrete surface before setting.
 English
 日本語
日本語